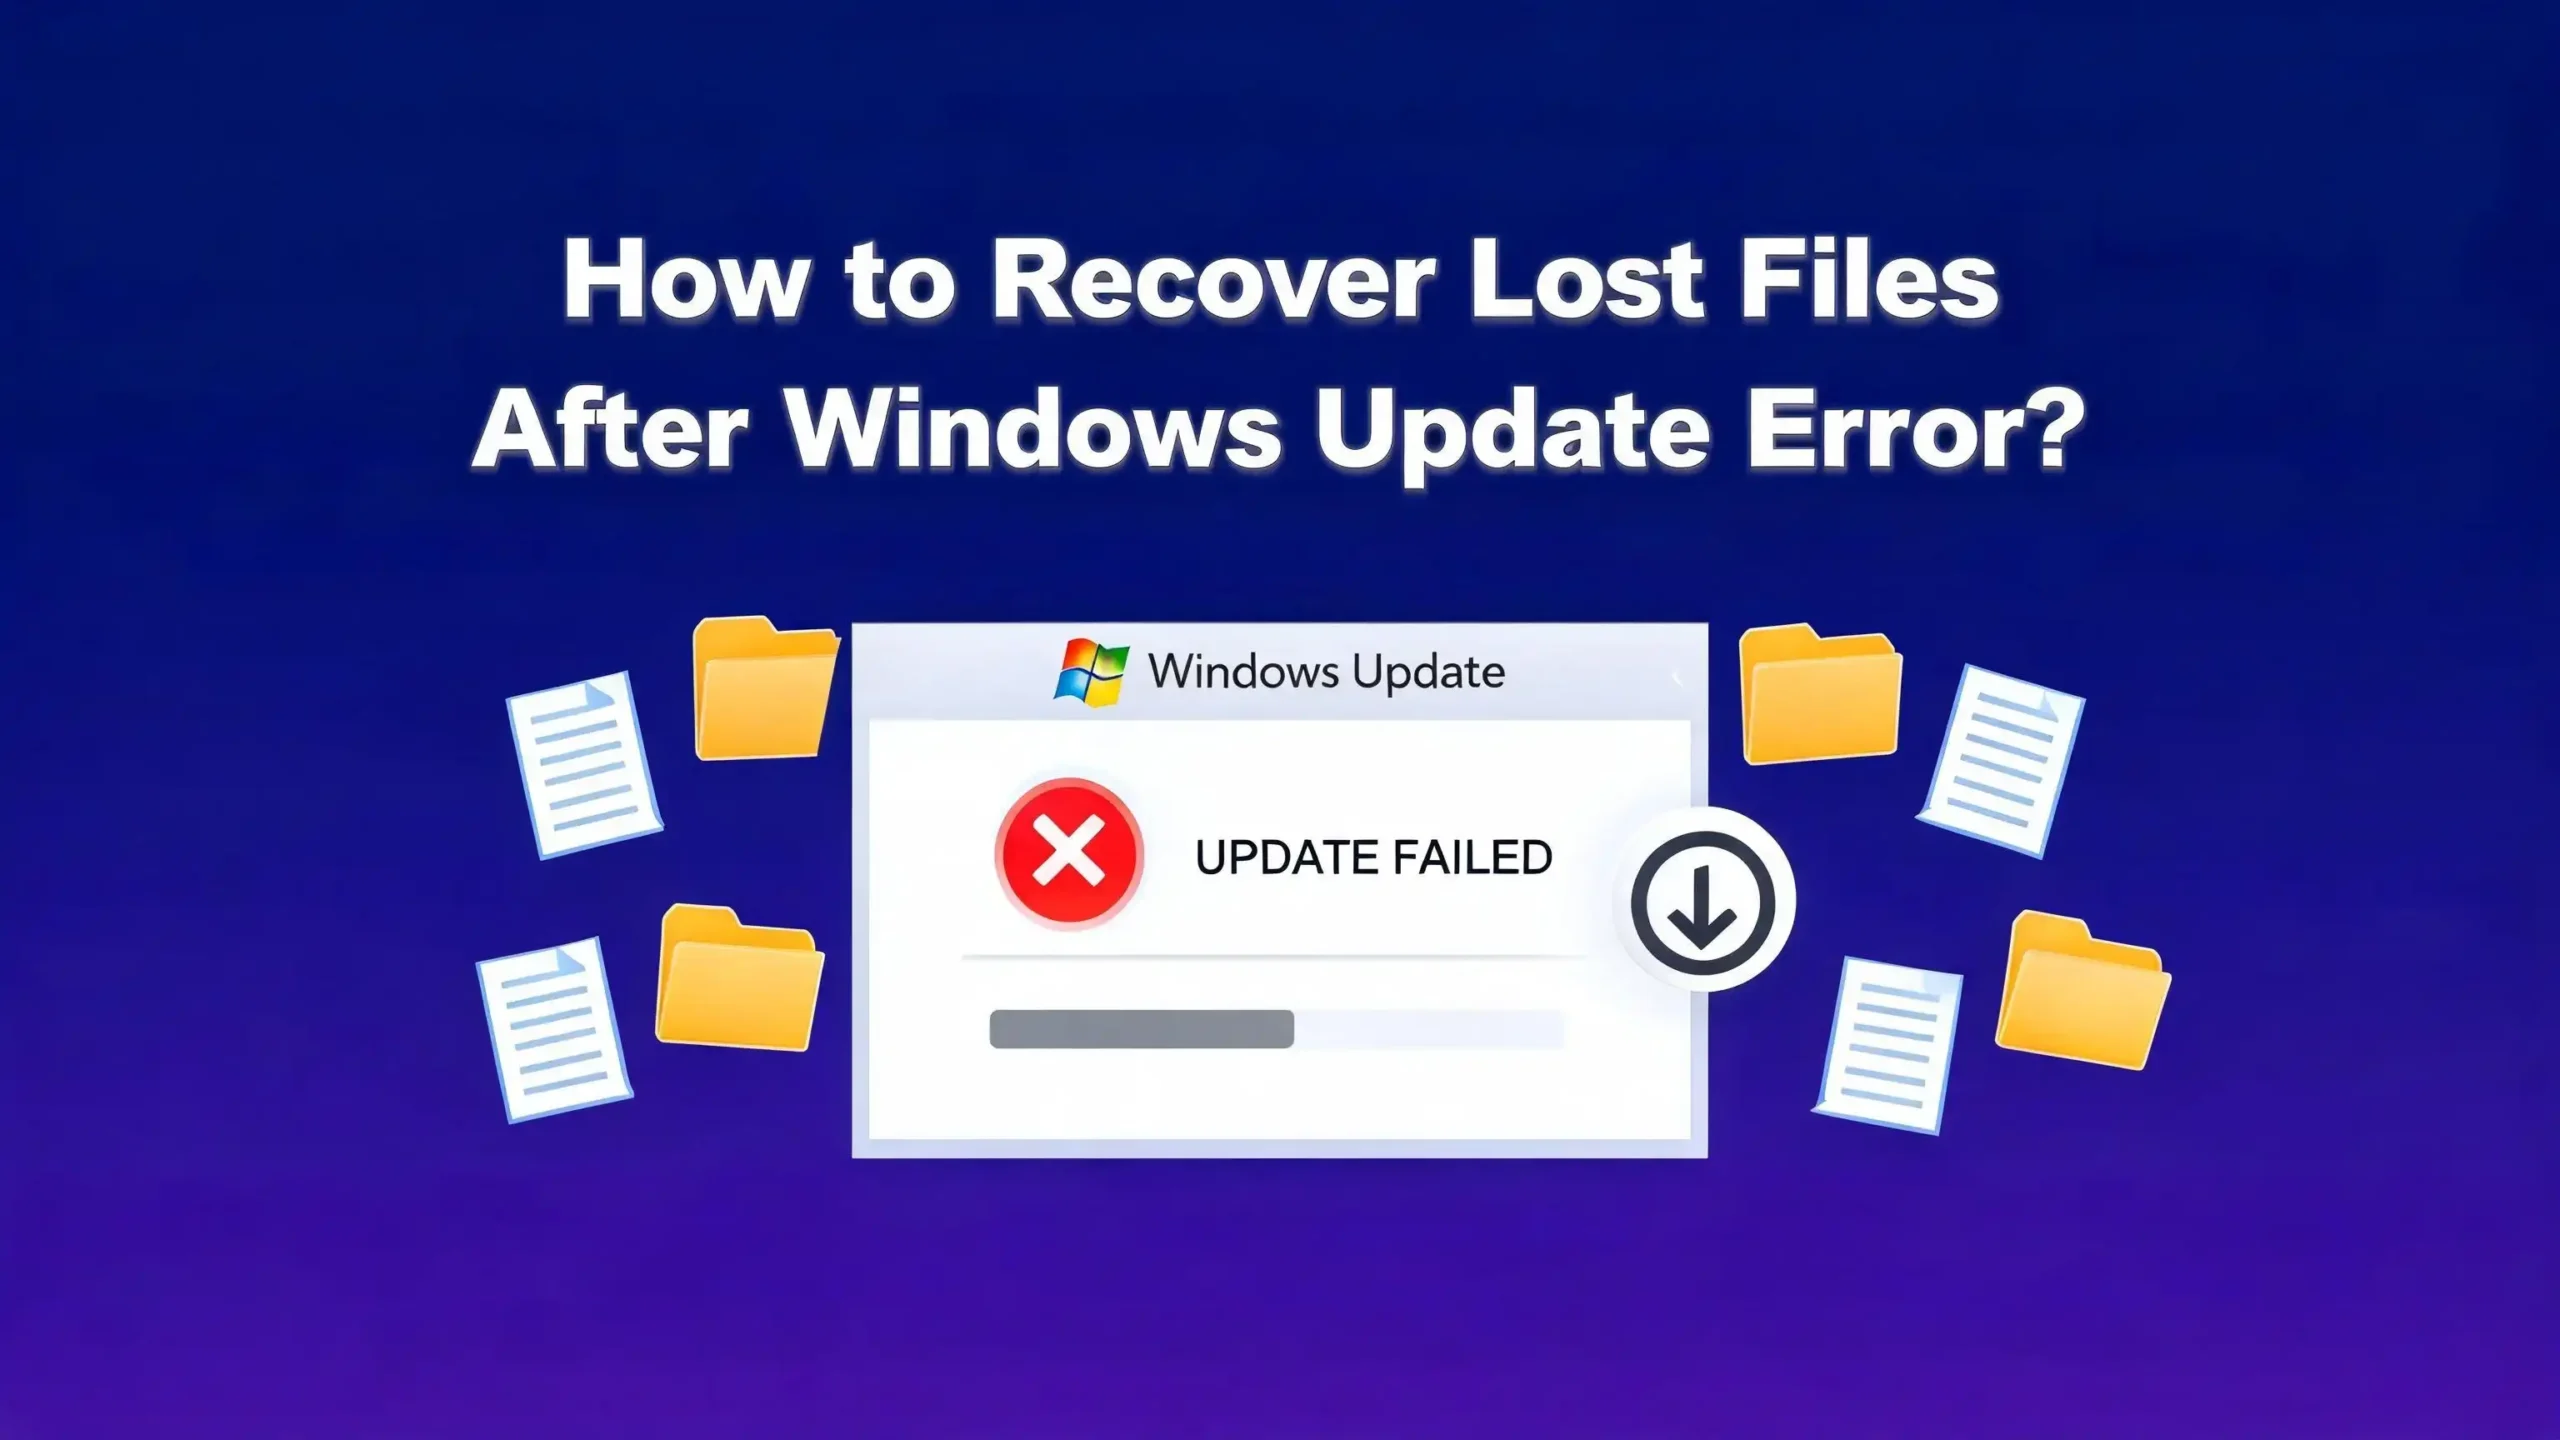
How to Recover Lost Files After a Windows Update Error?
You just updated Windows, and now your files are gone. Your documents, photos, and downloads seem to have disappeared. Panic sets in. You open folder after folder and find nothing. This is a common problem that affects thousands of Windows users every year.
The good news? Your files are almost always still on your hard drive. Windows updates rarely delete personal files. Instead, they move files to unexpected locations, create temporary user profiles, or make data temporarily inaccessible. You just need to know where to look and what steps to take.
This guide will walk you through every possible method to recover your lost files after a Windows update error. Whether your PC still boots or you are stuck on a blue screen, you will find a solution here. Each method is explained in plain language with clear steps anyone can follow.
Key Takeaways
- Your files are probably still on your drive. Windows updates move, hide, or misplace files far more often than they delete them. A quick check in the right folder can bring everything back in minutes.
- The Windows.old folder is your first stop. Major updates store your previous installation, including all personal files, inside a folder called Windows.old on your C: drive. This folder gets automatically deleted after 10 to 28 days, so check it immediately.
- Temporary user profiles cause most “missing file” scares. Windows sometimes loads a blank temporary profile after an update. Your real profile and all its files still exist on the drive. You just need to switch back to the correct one.
- Stop using the affected drive right away. Every new file you save could overwrite the data you want to recover. Do not install new software or save new documents on the same drive until you recover your files.
- Built in Windows tools can solve most cases. File History, Previous Versions, System Restore, and Windows Search can each help you find and restore lost data without any third party software.
- Prevention is the best cure. A quick backup to an external drive before any major update takes five minutes and eliminates the risk of data loss entirely.
Why Do Files Disappear After a Windows Update
Understanding the cause helps you pick the right recovery method. Windows updates change system files, settings, and sometimes the file system structure itself. During this process, several things can go wrong.
Temporary user profiles are the most common cause. Windows logs you into a fresh, blank account instead of your regular profile. Your files are still in your original user folder. They just are not linked to the profile you see on screen.
Feature updates create a Windows.old folder and move your previous installation into it. Your documents, photos, and downloads end up inside this folder. Many users do not know this folder exists and assume their files are deleted.
Interrupted updates from power loss or forced shutdowns can leave the file system in a partially modified state. The update wrote some changes but did not finish. This can make files inaccessible even though they remain physically on the disk.
Drive letter changes also happen after updates. A folder that lived on D: might now appear on E: because the update reassigned drive letters. Your files did not move. The label on the drive changed.
Check the Windows.old Folder First
This is the single most important step after a major Windows update causes file loss. When Windows performs a feature update, it copies your entire previous installation into a folder called Windows.old on your C: drive.
Open File Explorer and go to C:\Windows.old\Users\YourUsername. Inside this folder, you will find copies of your Desktop, Documents, Downloads, Pictures, Music, and Videos folders. Everything from your old installation should be there.
Copy these files to your current user folders immediately. Do not wait. Windows automatically deletes the Windows.old folder after 10 to 28 days depending on the type of update. Once that cleanup runs, recovery becomes much harder.
If Windows blocks your access due to permissions, right click the folder, select Properties, go to the Security tab, click Advanced, and change the owner to your current username. Check the box that says “Replace owner on subcontainers and objects” and click Apply. You can also open an elevated Command Prompt and type: takeown /f “C:\Windows.old\Users\YourName” /r /d y to take ownership of the entire folder tree.
Fix the Temporary User Profile Problem
A temporary profile is the second most common cause of missing files after a Windows update. You will know this happened if your desktop is completely blank, your settings are reset, and none of your personal files appear in their usual locations.
Press Windows + E to open File Explorer. Go to C:\Users and look for your original username folder. It should still be there alongside a folder named “TEMP” or your username with “.000” added to the end. Open your original folder and you will find all your files inside.
For a permanent fix, you need to edit the Windows Registry. Press Windows + R, type regedit, and press Enter. Go to HKEY_LOCAL_MACHINE\SOFTWARE\Microsoft\Windows NT\CurrentVersion\ProfileList. Look through the subkeys for entries that end with .bak on the folder name. These are your real profile entries that got pushed aside during the update.
Remove the .bak extension from the correct entry and restart your computer. Windows should now load your original profile with all your files intact. If this feels too risky, simply copy your files manually from the original user folder to an external drive as a backup first.
Use Windows Search to Find Misplaced Files
Sometimes a Windows update moves files to unexpected locations without deleting them. The files exist on your drive but sit in a different folder than expected. Windows Search can locate them quickly.
Press Windows + S to open the search bar. Type the name of a specific file you know should exist. You can also search by file type using extensions like *.docx, *.jpg, *.pdf, or *.xlsx. This tells Windows to scan the entire drive for files of that type.
Sort the results by Date Modified to find files that were moved during the update. Files that were recently modified or accessed during the update timeframe will appear at the top. This often reveals exactly where Windows relocated your data.
Also check that hidden files are visible. Open File Explorer, click the View tab, and make sure Hidden items is checked. Updates sometimes reset folder viewing preferences and hide files that were previously visible. A simple toggle of this setting can make “missing” files reappear instantly.
Restore Previous Versions of Files and Folders
Windows has a built in feature called Previous Versions that stores snapshots of your files and folders at different points in time. This feature works through System Protection, which creates restore points before major system changes including updates.
Right click any folder where your files used to be. Select Restore previous versions from the context menu. A list of available snapshots will appear with dates and times. Choose the version from before the update and click Restore to bring back the entire folder contents.
This method works best for files that were overwritten or modified during the update rather than moved. It relies on Volume Shadow Copy Service (VSS) snapshots that Windows creates automatically. If System Protection was enabled on your drive before the update, there is a good chance snapshots exist.
You can also access previous versions of individual files. Right click any specific file, select Properties, and go to the Previous Versions tab. This lets you recover an older version of a single file without affecting anything else in the folder.
Recover Files Using File History
File History is a Windows backup feature that continuously saves copies of your personal files to an external drive. If you had this feature turned on before the update, recovering your files is straightforward.
Go to Settings, then Update and Security, then Backup. Click More options and then select Restore files from a current backup. A window will open showing all the files and folders that File History has been tracking.
Use the arrow buttons at the bottom to browse through different backup dates. Find a date before the Windows update occurred. Select the files or folders you want to recover and click the green Restore button. The files will return to their original locations.
If you cannot access this through Settings, you can also open Control Panel, go to System and Security, and click File History. Select Restore personal files from the left panel. This opens the same recovery interface and gives you access to all backed up versions of your documents, photos, and other personal files.
Roll Back the Problematic Windows Update
If the update itself caused the problem, removing it can restore your system to its previous state and bring back your files. Windows gives you two ways to uninstall updates depending on whether your PC boots normally or not.
If your PC boots normally, go to Settings, then Windows Update, then Update History. Click Uninstall updates. Find the most recent update in the list, select it, and click Uninstall. Restart your computer and check if your files have returned.
If your PC will not boot, force shutdown your computer three times during the startup logo screen. This triggers the Windows Recovery Environment. Go to Troubleshoot, then Advanced Options, then Uninstall Updates. Choose either “Uninstall latest quality update” or “Uninstall latest feature update” depending on which type of update caused the problem.
For feature updates specifically, you have a 10 day window to go back. Open Settings, then System, then Recovery. Click Go back under the recovery options. Follow the wizard and Windows will restore your previous version using the Windows.old folder. Back up your data to an external drive before attempting this step.
Run SFC and DISM to Repair System Files
Sometimes the update corrupts Windows system files, which causes your computer to malfunction and makes personal files inaccessible. Two built in command line tools can detect and repair this corruption.
Open Command Prompt as Administrator by right clicking the Start button and selecting the appropriate option. Type DISM /Online /Cleanup-Image /RestoreHealth and press Enter. This command scans for corruption in the Windows component store and downloads fresh copies of damaged files from Microsoft servers. Let it run to completion. This process can take 10 to 30 minutes.
After DISM finishes, type sfc /scannow and press Enter. This command checks every protected system file on your computer and replaces any corrupted or missing files with correct versions. Always run DISM before SFC because SFC relies on the component store that DISM repairs.
Once both commands complete successfully, restart your computer. Corrupted system files that were preventing access to your data should now be repaired. Check your user folders to see if your files are accessible again. These tools fix the operating system itself, which often resolves file access issues caused by botched updates.
Access Files Through Safe Mode
If your computer boots but behaves strangely after the update, Safe Mode loads Windows with only essential drivers and services. This stripped down environment often lets you access files that are unreachable during normal startup.
Force shutdown your PC three times during boot to trigger the Windows Recovery Environment. Select Troubleshoot, then Advanced Options, then Startup Settings, then Restart. When the options list appears, press the number key for Safe Mode with Networking.
Once in Safe Mode, open File Explorer and check your user folders. If your files appear here but not in normal mode, the problem is likely a corrupted driver or software conflict installed during the update. Copy your important files to an external drive while you have access.
You can also use Safe Mode to uninstall the problematic update or run System Restore to revert your computer to a point before the update. Both options are available through the Settings menu while in Safe Mode. This environment provides a stable platform for troubleshooting without the interference of third party software or drivers.
Use a Linux Live USB to Access Your Drive
When Windows will not boot at all, a Linux Live USB lets you access your hard drive without relying on the broken Windows installation. Linux reads the Windows file system directly and does not care that Windows is damaged.
Download Ubuntu or Linux Mint on a working computer. Use a free tool like Rufus to create a bootable USB drive from the downloaded file. Insert the USB into the problem computer and boot from it. You may need to change the boot order in your BIOS settings by pressing F2, F12, or Delete during startup.
Once Linux loads, open the file manager. Your Windows drive will appear as a mountable disk. Click on it to access all your files. Go to the Users folder and find your username directory. Your Documents, Desktop, Downloads, Pictures, and other personal folders will be right there.
Copy everything you need to a separate USB drive or external hard drive. This method bypasses Windows entirely, so update errors, corrupted profiles, and boot failures do not matter. Your files sit on the physical drive and Linux gives you direct access to them.
Remove the Drive and Connect It to Another PC
If no boot method works, physically removing the hard drive and connecting it to a working computer gives you direct access to all the data stored on the disk. This is one of the most reliable recovery methods available.
Shut down the problem computer and disconnect it from power. Open the case and locate the hard drive or SSD. Disconnect the data and power cables, then remove the drive from its mount. For laptops, check the manufacturer’s guide for the specific location and removal process.
Connect the drive to a working computer using a USB to SATA adapter or install it as a secondary internal drive. The working computer will recognize it as an additional storage device. Open File Explorer and browse to the drive. Navigate to the Users folder and locate your profile directory.
Copy all your personal files to the working computer’s drive or an external storage device. Once your data is safe, you can decide whether to repair the original Windows installation or perform a clean install. If the drive makes clicking, grinding, or beeping sounds when connected, stop immediately. Those sounds indicate mechanical failure, which requires professional data recovery services.
Prevent File Loss Before Future Windows Updates
The best recovery strategy is one you never need to use. A few simple habits before each update can protect you from all the problems discussed in this guide.
Back up your files to an external drive before every major update. Plug in a USB hard drive, copy your user folders, and disconnect the drive. This takes a few minutes and creates a complete safety net. Cloud storage services also work, but a local backup gives you faster access and does not depend on an internet connection.
Enable File History on your Windows PC. Connect an external drive and go to Settings, then Update and Security, then Backup. Turn on File History and select your external drive. Windows will continuously save copies of your personal files in the background.
Create a System Restore point manually before updating. Type “Create a restore point” in the Windows search bar and open the result. Click Create, give the restore point a name like “Before May Update,” and click Create. This gives you a reliable rollback option if the update causes problems.
Check your drive health before updating. Download CrystalDiskInfo and review the SMART status of your drive. A drive that is already showing warning signs could fail completely during the write heavy update process. Replace a failing drive before applying updates.
When to Seek Professional Data Recovery Help
Most file loss situations after a Windows update can be resolved with the methods in this guide. However, some cases require professional help. Knowing when to stop trying DIY solutions can save your data from permanent loss.
Severe file system corruption that prevents any access to the drive, even from Linux or another PC, requires specialized tools and a controlled environment. If the update interrupted a major disk operation like a partition resize, the damage may be too complex for standard recovery methods.
Physical drive failure is another clear signal to call a professional. If your drive clicks, grinds, beeps, or is not detected by any computer, the problem goes beyond software. Opening or running a physically damaged drive can make data unrecoverable.
SSD data loss after TRIM operations is extremely difficult to recover at home. If the failed update triggered TRIM commands on your solid state drive, the affected data blocks may be physically erased at the hardware level. Only labs with NAND level tools have a chance of recovering this data.
If your files are irreplaceable, such as business records, legal documents, or family photos that exist nowhere else, do not experiment. Every failed recovery attempt writes to the disk and reduces the chance of successful recovery. A professional lab can create a forensic image of your drive and work on the copy, keeping your original data untouched.
Frequently Asked Questions
Does a Windows update delete personal files permanently?
In almost all cases, no. Windows updates are designed to change system files, not personal documents, photos, or downloads. When files appear to be gone, they have usually been moved to the Windows.old folder, hidden behind a temporary user profile, or made inaccessible by a corrupted system file. True deletion from a Windows update is extremely rare and has only happened with a few specific updates like the Windows 10 October 2018 Update (version 1809), which Microsoft pulled and reissued after reports of actual file deletion.
How long do I have to recover files from the Windows.old folder?
Windows automatically deletes the Windows.old folder after 10 days for standard updates and up to 28 days for major feature updates. Once this cleanup runs, the folder and its contents are removed. If you notice missing files after an update, check for this folder immediately. Do not wait, because every day brings you closer to the automatic deletion deadline. If the folder has already been removed, the data may still be recoverable using file recovery software, but the process becomes significantly harder.
Can System Restore bring back my personal files?
System Restore reverts system settings, registry entries, and installed programs to a previous state. However, it does not restore personal files like documents, photos, or videos. It is useful for fixing system level problems caused by a bad update, such as driver conflicts or corrupted settings. To recover personal files specifically, use File History, Previous Versions, or the Windows.old folder instead. System Restore and personal file recovery are separate tools that solve different problems.
What should I do if my PC will not boot after a Windows update?
Start with Safe Mode by forcing three shutdowns during the startup logo screen to trigger the Windows Recovery Environment. Try booting into Safe Mode first and back up your files. If Safe Mode fails, try uninstalling the update from the Recovery Environment. If that also fails, boot from a Linux Live USB or a Windows installation USB to access your files directly. As a last resort, remove the drive and connect it to another working computer. Your data is almost certainly still on the drive even if Windows cannot start.
Is it safe to use free file recovery software?
Free file recovery tools like TestDisk and PhotoRec are open source and effective for many recovery situations. The critical rule is to never install or run recovery software on the same drive you are trying to recover. Always run the tool from a USB drive or a different computer with the affected drive connected as a secondary disk. Writing new data to the affected drive, including installing software, can overwrite the very files you are trying to save.
How can I prevent file loss during future Windows updates?
Create a full backup of your personal files on an external drive before every major update. Enable File History for continuous background backups. Create a manual System Restore point before clicking the update button. Defer feature updates by 30 days in Windows Update settings to let early issues get patched before you install. Finally, never force restart your computer while an update is in progress, as interrupting the process is one of the leading causes of file system corruption and data loss.
Hi, I’m Hana! I’m a tech lover who geeks out over software, gadgets, and all things digital. I started UniConverterBox to help everyday people navigate the overwhelming world of tech with honest reviews, clear comparisons, and simple guides. Got questions? I’m always happy to help!